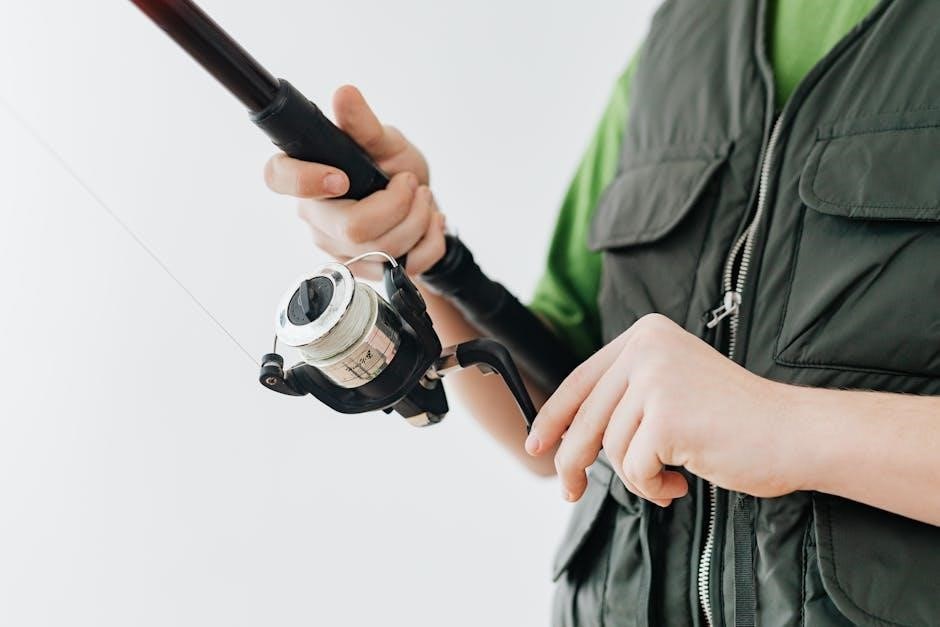
Replacing fishing rod guides is a valuable skill for anglers, extending rod life and performance. From simple fixes to full restorations,
understanding the process ensures continued enjoyment on the water, and can be a rewarding hobby!
Many online resources, like Mudhole and YouTube channels, offer guidance for both beginners and experienced rod builders.
Why Replace Fishing Rod Guides?
Damaged guides significantly impact casting distance and accuracy, leading to frustrating fishing experiences. Worn or broken guides create friction, causing line wear and potential breakage during casts and retrieves. A chipped or cracked guide can severely score your fishing line, weakening it and increasing the risk of snapping during a fight with a fish.
Replacing guides restores sensitivity, allowing anglers to better detect subtle bites. Even on inexpensive rods, a new guide costing only a few pence can be worthwhile for practice and functionality. Furthermore, guide replacement is a cost-effective alternative to purchasing a new rod, especially for sentimental or custom-built equipment. Maintaining guides ensures optimal rod performance and longevity, protecting your investment.
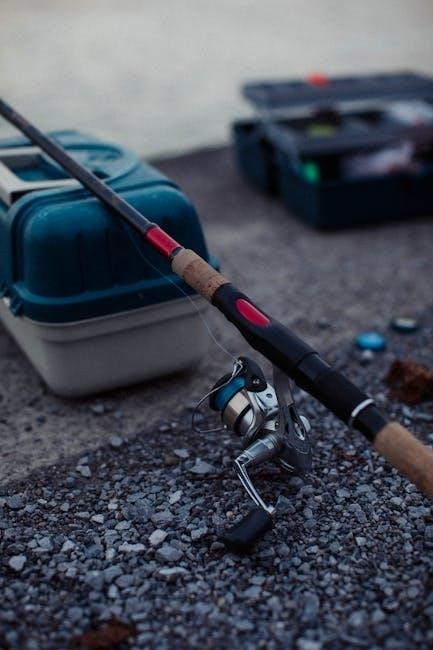
Tools and Materials Needed
Essential tools for guide replacement include a razor blade for removing old thread, and masking tape to protect the rod blank during the process. Rod wrapping thread is crucial for securing the new guides, with varying sizes (D to B) recommended for skill progression. Finishing epoxy provides a durable, protective coating.
You’ll also need new guides themselves, selected based on rod type and line weight. While specialized tools exist, many repairs require only these basics. Super glue can be used for initial guide placement, but epoxy is vital for a lasting bond. Consider a drying rack for even epoxy curing, and access to online resources like Mudhole for supplies.
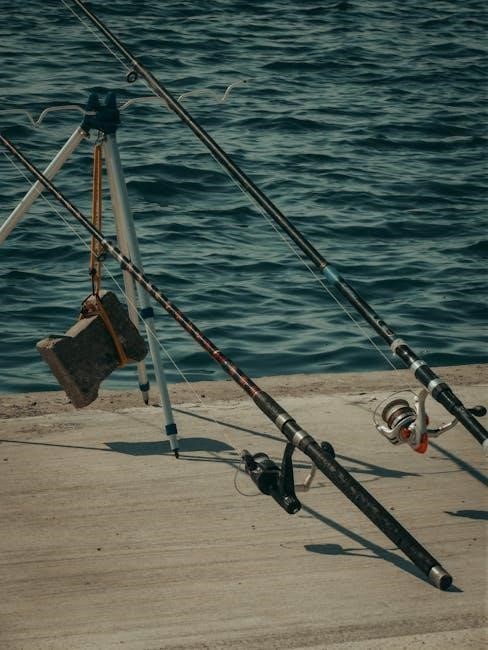
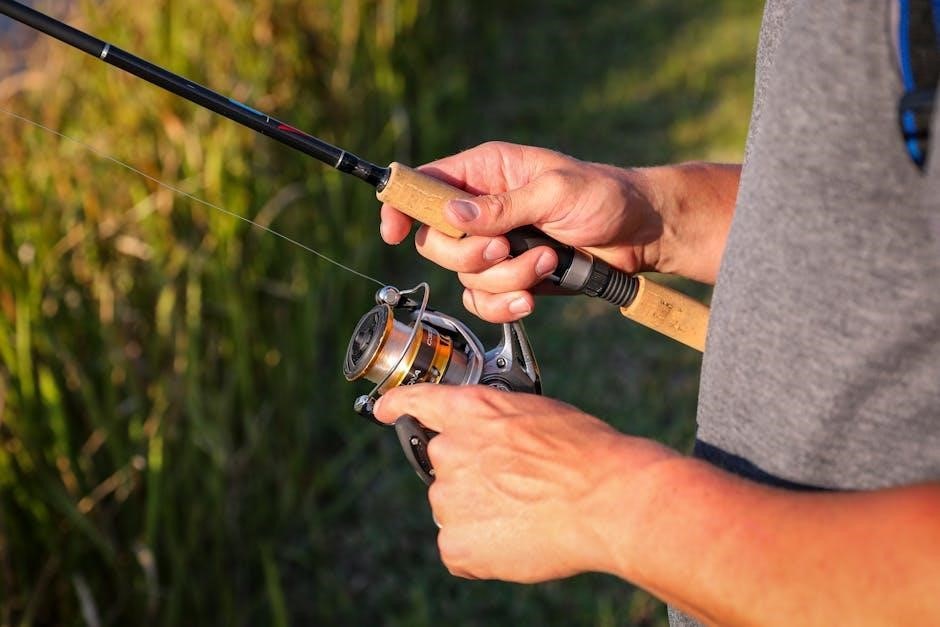
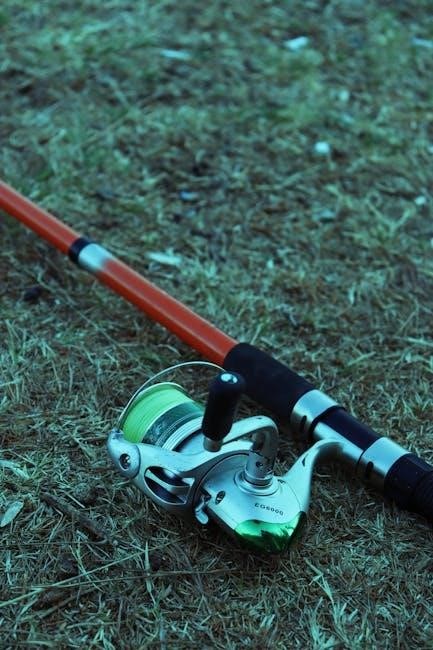
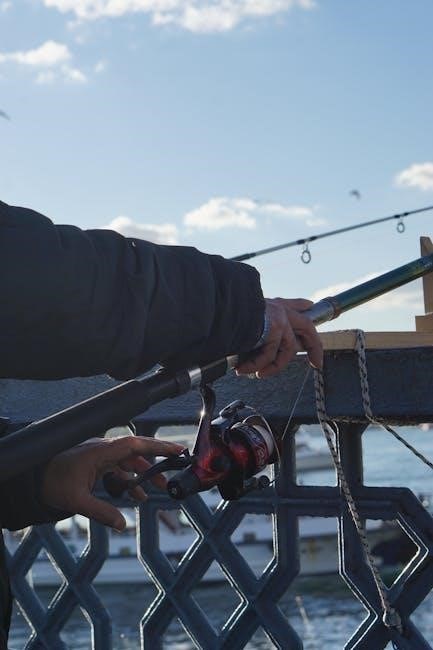
Understanding Fishing Rod Guides
Fishing rod guides direct line flow, impacting casting distance and accuracy. They come in various types and materials, each suited for specific fishing applications and line weights.
Types of Fishing Rod Guides
Several guide types cater to different fishing styles and rod designs. Snake guides, featuring a single foot, are common on spinning and casting rods, offering smooth line flow. Micro guides, smaller in diameter, reduce line contact, enhancing sensitivity and casting distance, though requiring precise alignment.
Traditional guides, with larger diameters, are robust and suitable for heavier lines and applications. Roller guides, utilizing a rotating roller, minimize friction, ideal for braided lines. The choice depends on the rod’s intended use, line type, and angler preference. Understanding these distinctions is crucial for effective replacement and optimal performance.
Ultimately, selecting the correct guide type ensures a functional and efficient fishing experience.
Guide Materials: Ceramic, Stainless Steel, and Others
Fishing rod guides are constructed from various materials, each offering unique benefits. Ceramic guides, particularly aluminum oxide and silicon carbide (SiC), are popular for their durability and smooth line passage, reducing friction and heat. Stainless steel guides provide excellent corrosion resistance, making them suitable for saltwater environments.
Chrome-plated brass was historically used but is less common now due to corrosion concerns. Newer materials include zirconium and titanium, offering superior performance and lightweight properties, albeit at a higher cost. Material selection impacts line wear, heat dissipation, and overall guide longevity. Choosing the right material is vital for a successful repair.
Guide Sizes and Their Applications
Fishing rod guide sizes are crucial for optimal casting performance and line control. Sizes are typically designated by a numerical or alphabetical system, with larger numbers/letters indicating larger diameters. Smaller guides are used closer to the reel seat for line control, while larger guides near the tip dissipate energy during casting.
The appropriate size depends on line weight, rod action, and target species. Spinning rods generally use smaller guides than baitcasting rods. Matching guide size to line weight minimizes friction and maximizes casting distance. Incorrect sizing can lead to line damage and reduced casting efficiency, so careful consideration is essential during replacement.
Step-by-Step Guide Replacement Process
Replacing guides involves careful removal of the old, rod preparation, epoxy application, precise thread wrapping, and finishing. Patience and attention to detail are key for success!
Removing the Old Guide
Carefully removing the old guide is the crucial first step. Begin by using a sharp razor blade to carefully cut the existing thread wraps surrounding the guide foot. Exercise extreme caution to avoid damaging the blank itself. Once the thread is cut, gently pick away at the wrapping, revealing the epoxy securing the guide.
Applying gentle heat from a hairdryer can sometimes soften the epoxy, making removal easier. Avoid excessive heat, as this could harm the rod’s finish. Once loosened, carefully wiggle the guide foot back and forth until it breaks free from the epoxy bond. Be patient; forcing it can cause damage. Clean any remaining epoxy residue from the rod blank with a solvent appropriate for the rod’s finish, preparing it for the new guide.
Preparing the Rod for the New Guide
Thorough preparation is key for a secure and lasting guide attachment. After removing the old guide and its epoxy, meticulously clean the rod blank where the new guide will sit. Use a solvent to remove any remaining adhesive residue, ensuring a smooth, clean surface. Lightly sand the area with very fine-grit sandpaper to create a slightly textured surface, promoting better epoxy adhesion.
Masking tape should be applied on either side of the guide placement area to protect the rod’s finish during epoxy application. This prevents accidental epoxy smudging. Finally, perform a “dry fit” of the new guide to confirm proper alignment and foot contact before proceeding with epoxy application.
Attaching the New Guide with Epoxy
Epoxy application demands precision. Mix the epoxy according to the manufacturer’s instructions, ensuring a thorough blend for optimal curing. Apply a small amount of epoxy directly to the guide’s foot, enough to create a secure bond with the rod blank. Carefully position the guide onto the prepared rod section, ensuring correct alignment.
Avoid excessive epoxy, as it can create a messy finish. Gently press the guide foot into the epoxy, ensuring full contact. Use a toothpick or similar tool to work the epoxy around the base of the guide foot, filling any gaps. Remember, a small amount of super glue can also be used initially for positioning!
Wrapping the Guide with Thread
Thread wrapping is crucial for securing the guide and creating a smooth transition along the rod blank. Begin by anchoring the thread with a knot near the guide foot; Apply consistent tension as you wrap the thread, creating neat, even wraps that spiral up the rod. Start with a smaller thread size (D) and progress to larger (B) as skill increases.
Overlap each wrap slightly to avoid gaps and ensure a strong bond. Maintain consistent pressure to prevent the thread from loosening. Continue wrapping past the guide foot on both sides, creating a smooth, tapered finish. Proper tension is key to a professional-looking and durable wrap.
Thread Tension and Technique

Maintaining consistent thread tension is paramount for a durable and aesthetically pleasing guide wrap. Too little tension results in a loose, uneven wrap prone to failure, while excessive tension can damage the rod blank. A smooth, even pull on the thread spool is essential, avoiding jerky motions.
Technique involves overlapping each wrap slightly, creating a seamless spiral. Beginners often benefit from practicing on scrap material to develop a feel for the correct tension. Consistent pressure throughout the wrapping process ensures a uniform appearance and structural integrity; Mastering this skill elevates the quality of your rod repairs significantly.

Advanced Techniques
Refining your skills involves utilizing drying racks for even epoxy curing, applying protective finish coats, and skillfully matching thread colors for a custom aesthetic.
Using a Drying Rack for Epoxy
Employing a dedicated drying rack is crucial for achieving a professional epoxy finish when replacing fishing rod guides. These racks facilitate 360-degree rotation, ensuring even epoxy distribution and preventing drips or uneven coating. Consistent rotation minimizes sagging and pooling, particularly important for longer rods.
A dust-free environment is paramount; a rack within an enclosed space further enhances results. Temperature control is also beneficial, as epoxy cures optimally within a specific range. Maintaining consistent conditions prevents cloudiness or tackiness.
Proper rack spacing prevents guides from touching during curing. Allow ample time for complete hardening, typically 24-72 hours, before handling or applying finish coats. Patience yields a durable, aesthetically pleasing result.
Applying Finish Coats for Protection
Finish coats are essential for safeguarding the epoxy wraps on your newly guided fishing rod, providing UV protection and abrasion resistance. Several options exist, including polyurethane and epoxy-based finishes, each offering varying levels of durability and gloss.
Application techniques are critical; thin, even coats are preferable to thick, uneven ones. A flexible applicator brush minimizes brush strokes and ensures smooth coverage. Multiple thin coats, lightly sanded between applications, build a robust protective layer.
Allow each coat to fully cure before applying the next, preventing clouding or tackiness. Proper ventilation is vital during application and curing, as these finishes often release fumes.
Color Matching Thread to Rod Aesthetics
Aesthetic considerations are key when selecting thread for guide wrapping, enhancing the rod’s overall appearance. Matching thread color to the rod blank, or complementary colors, creates a visually appealing result. Many anglers start with darker shades and progress to brighter ones as skill increases.
Consider the rod’s intended use; subtle colors suit traditional rods, while vibrant hues complement modern designs. Online resources showcase various color combinations for inspiration. Thread manufacturers offer extensive color charts, aiding in precise matching.
Experimentation is encouraged, but prioritize a cohesive look. A well-chosen thread color elevates the rod’s craftsmanship and reflects the builder’s attention to detail.
Troubleshooting Common Issues
Common problems include guide misalignment, epoxy application difficulties, and thread wrapping errors. Careful preparation, precise technique, and patience are crucial for successful repairs.
Guide Alignment Problems
Misaligned guides significantly impact casting accuracy and line flow, creating friction and potentially damaging your line. Ensuring proper alignment during the epoxy setting process is paramount. Use a straight edge or laser level to verify each guide’s position before the epoxy fully cures.
If misalignment occurs, gently manipulate the guide while the epoxy is still pliable, but be cautious not to disturb the thread wraps. For severe misalignments, it may be necessary to carefully remove the guide and re-wrap it. Remember, consistent alignment along the rod blank is key to optimal performance. Patience and precision are vital when addressing these issues.
Double-check alignment after each guide is secured, preventing compounding errors down the line.
Epoxy Application Issues
Epoxy application can present challenges, including air bubbles, uneven coating, and insufficient coverage. Thorough mixing of the epoxy resin and hardener is crucial, following the manufacturer’s instructions precisely. Apply epoxy in thin, even coats to avoid runs and drips, using a brush or applicator tip.
To minimize air bubbles, gently warm the epoxy before mixing and use a heat gun to lightly pass over the coated area. Insufficient epoxy can lead to weak guide adhesion, while excessive amounts add unnecessary weight. Ensure complete coverage of the thread wraps and guide foot for a durable bond.
Proper ventilation is essential when working with epoxy, and always wear appropriate protective gear.
Thread Wrapping Mistakes
Thread wrapping errors commonly include inconsistent tension, overlapping wraps, and improper starting/ending points. Maintaining consistent thread tension is vital for a smooth, durable finish; too loose, and the wraps are weak, too tight, and they can distort. Overlapping wraps create unsightly bulges and weaken the overall structure.
Begin and end wraps securely, using a half-hitch to prevent unraveling. Beginners often struggle with smooth transitions between wraps, resulting in uneven appearance. Practice is key to mastering the technique, starting with simpler wraps and progressing to more complex patterns.
Referencing online tutorials and videos can significantly improve wrapping skills.
Choosing the Right Replacement Guides
Selecting replacement guides requires matching size to line weight and considering foot style, like snake guides, for optimal performance and compatibility with your rod.
Matching Guide Size to Line Weight
Proper guide sizing is crucial for casting distance, accuracy, and preventing line damage. Smaller guides are suitable for lighter lines and finesse techniques, while larger guides handle heavier lines and bigger baits more efficiently.
Generally, a guide’s inner diameter should be at least 2.5 times the line diameter. Consider the type of fishing you’ll be doing; heavier line for bass requires larger guides than lighter line for trout.
Using guides that are too small creates friction, reducing casting distance and potentially damaging the line. Conversely, oversized guides add unnecessary weight and bulk. Carefully assess your typical line weight and fishing style to choose the appropriate guide sizes for a balanced and effective setup.
Considering Guide Foot Style (e.g., Snake Guides)
Guide foot style significantly impacts how the guide attaches to the rod blank and influences overall rod performance. Common styles include traditional, flared, and snake guides.
Snake guides, characterized by their elongated feet, are frequently used on spinning rods as they minimize line tangles. Traditional guides offer a secure fit for heavier lines and applications. Flared feet distribute pressure more evenly, ideal for sensitive blanks.
When replacing guides, matching the original foot style is often best, but experimenting can optimize performance. Consider the rod’s intended use and the blank material when selecting a foot style. Proper foot fit ensures secure adhesion and prevents guide movement during casting and retrieval.
Sourcing Quality Replacement Guides
Finding reliable sources for replacement guides is crucial for a successful repair. Cheap, low-quality guides can quickly fail, negating your efforts. Mudhole Rod Building Supplies is frequently recommended by experienced rod builders as a reputable vendor.
Online marketplaces offer a wider selection, but verifying seller ratings and product reviews is essential. Look for guides made with durable materials like stainless steel or high-quality ceramics. Consider purchasing complete guide train kits for consistent sizing and style.
Prioritize guides that match the original specifications of your rod, ensuring compatibility and optimal performance. Investing in quality guides extends the lifespan of your repair and enhances your fishing experience.
Specific Guide Replacement Scenarios
Various situations require tailored approaches, from replacing the delicate tip-top guide to repairing a broken foot or addressing unique spinning rod configurations.
Each scenario demands specific techniques and considerations for a successful outcome.
Replacing the Tip-Top Guide
The tip-top guide, crucial for smooth casting, often suffers damage. Removal requires careful heat application to soften the epoxy, followed by gentle twisting and pulling.
Selecting a replacement is vital; ensure it matches the original’s inner diameter and outer profile for optimal line flow. Preparing the rod tip involves cleaning and potentially reaming to accept the new guide’s shank.
Applying epoxy is critical – use a quality rod-building epoxy and apply it liberally to the guide foot and rod tip. Secure the guide with masking tape, ensuring correct alignment.
Wrapping thread reinforces the bond, and multiple coats of finish protect the repair, creating a durable and aesthetically pleasing result. Patience and precision are key to a successful tip-top replacement.
Repairing a Broken Guide Foot
A broken guide foot doesn’t always necessitate a full guide replacement; sometimes, repair is possible. Carefully remove any remaining fragments of the foot from the rod blank, ensuring no epoxy residue remains.
Cleaning the area thoroughly is essential for a strong bond. Applying a small amount of epoxy directly to the cleaned area, and then carefully positioning a new guide foot, is the next step.
Secure the foot with masking tape while the epoxy cures, maintaining proper alignment. Reinforce the repair with thread wraps, building up layers for added strength and durability.
Finally, apply finish coats to protect the thread and epoxy, creating a smooth, waterproof seal. This method offers a cost-effective solution for minor guide foot damage.
Replacing Guides on Spinning Rods
Spinning rod guide replacement requires precision due to the specific line flow needed for optimal casting. Begin by carefully removing the old guides, cleaning the blank thoroughly to remove all epoxy residue.
When positioning new guides, pay close attention to alignment, ensuring they are straight and evenly spaced along the rod’s length. The first guide closest to the reel seat is crucial for smooth line travel.
Use quality rod-wrapping thread and epoxy, applying multiple coats for durability and protection. Proper thread tension is vital to prevent guide movement during use.
Referencing Mudhole videos can be incredibly helpful for visualizing the process and achieving professional-looking results on your spinning rod.
Resources and Further Learning
Expand your knowledge with Mudhole Rod Building Supplies, insightful YouTube channels, and active online forums like The Hull Truth and Reddit’s r/Fishing_Gear.
Recommended YouTube Channels for Rod Building
Numerous YouTube channels provide excellent visual guides for fishing rod guide replacement; Many anglers recommend searching for tutorials specifically focused on rod building techniques, as these often cover guide replacement in detail.
While specific channels weren’t explicitly named in the provided sources, the general consensus is that a wealth of information exists on the platform. Look for channels demonstrating epoxy application, thread wrapping, and guide alignment.
These videos can be invaluable for understanding the nuances of each step, especially for beginners. Visual learners will benefit greatly from seeing the process demonstrated, allowing for a more confident and successful repair. Don’t hesitate to explore various channels to find a style that suits your learning preferences.
Online Forums and Communities
Engaging with online forums and communities dedicated to fishing and rod building is a fantastic way to learn and troubleshoot guide replacement. The Hull Truth, a boating and fishing forum, has discussions on this topic, offering insights from experienced anglers.
Reddit’s r/Fishing_Gear is another valuable resource, where users share advice and ask questions about rod repair. Bass Fishing Forums also contain relevant threads discussing guide replacement techniques.
These platforms allow you to ask specific questions, share your progress, and learn from the collective knowledge of other enthusiasts. They’re excellent for finding solutions to common problems and discovering new techniques.
Mudhole Rod Building Supplies
Mudhole Rod Building Supplies is frequently recommended as a premier source for all things rod building, including replacement guides. Numerous online discussions, like those found on Bass Fishing Forums, highlight Mudhole’s comprehensive selection and quality products.
They offer a wide variety of guides – ceramic, stainless steel, and various sizes – catering to different fishing applications and rod types. Beyond guides, Mudhole provides epoxy, thread, and specialized tools essential for a successful guide replacement.
Their website also features instructional videos, making it an excellent resource for both beginners and experienced rod builders seeking guidance on the process.

Maintaining Your Repaired Rod
Regular cleaning and careful storage are vital for longevity. Inspect guides routinely for wear, addressing issues promptly to prevent further damage and maintain performance.
Cleaning and Storage
Proper cleaning after each use significantly extends the life of your repaired rod and its guides. Use a mild soap and lukewarm water to gently wash away salt, dirt, and grime. Avoid harsh chemicals or abrasive cleaners that could damage the epoxy or finish.
Thoroughly dry the rod with a soft cloth before storage. Storing a damp rod can lead to corrosion and weaken the epoxy bond. Consider using a rod sleeve or case to protect the guides from accidental impacts and scratches during storage and transport.
Store rods horizontally or hang them vertically to prevent bending or warping. Avoid leaning them against walls or objects that could cause damage. Consistent care ensures your repaired rod remains in excellent condition for years to come.
Inspecting Guides for Wear and Tear
Regular inspection is crucial for preventing more significant issues; Before and after each fishing trip, carefully examine each guide for cracks, chips, or signs of damage to the ceramic insert. Pay close attention to the feet of the guides, checking for looseness or corrosion where they attach to the rod blank.
Look for fraying or wear on the thread wraps surrounding the guides. This indicates potential weakening and could lead to guide failure. Run your finger along the wraps to feel for any rough spots or inconsistencies. Early detection allows for timely repair, preventing further damage.
Address any issues promptly to maintain rod performance and avoid costly repairs. A proactive approach to inspection ensures your fishing rod remains reliable and enjoyable for many seasons.
Preventative Measures to Avoid Future Damage
Protecting your repaired rod is vital for longevity. Always store your fishing rods in a protective case or rack, preventing impacts and scratches that can damage guides. Avoid leaning rods against hard surfaces, and never subject them to excessive force.
When transporting rods, secure them properly to prevent bending or twisting, which can stress the guides and their attachments. Rinse your rod with fresh water after each use, especially in saltwater environments, to remove corrosive elements.
Handle your rod with care during casting and reeling, avoiding sudden jerks or excessive pressure on the guides. Regular cleaning and mindful handling will significantly reduce the risk of future damage.